After using our Ikea sensory table for years, we finally got to a point where we felt we had outgrown it. My oldest kiddo could not fit her legs underneath the table and really struggled to fit when there was a bucket in to hold sensory materials. Initially I thought, maybe I will just add some taller legs to the table, but in the end, I wanted more space to explore. So, I decided to start exploring some ideas and create my own DIY Sensory Table!!

Ikea Sensory Table

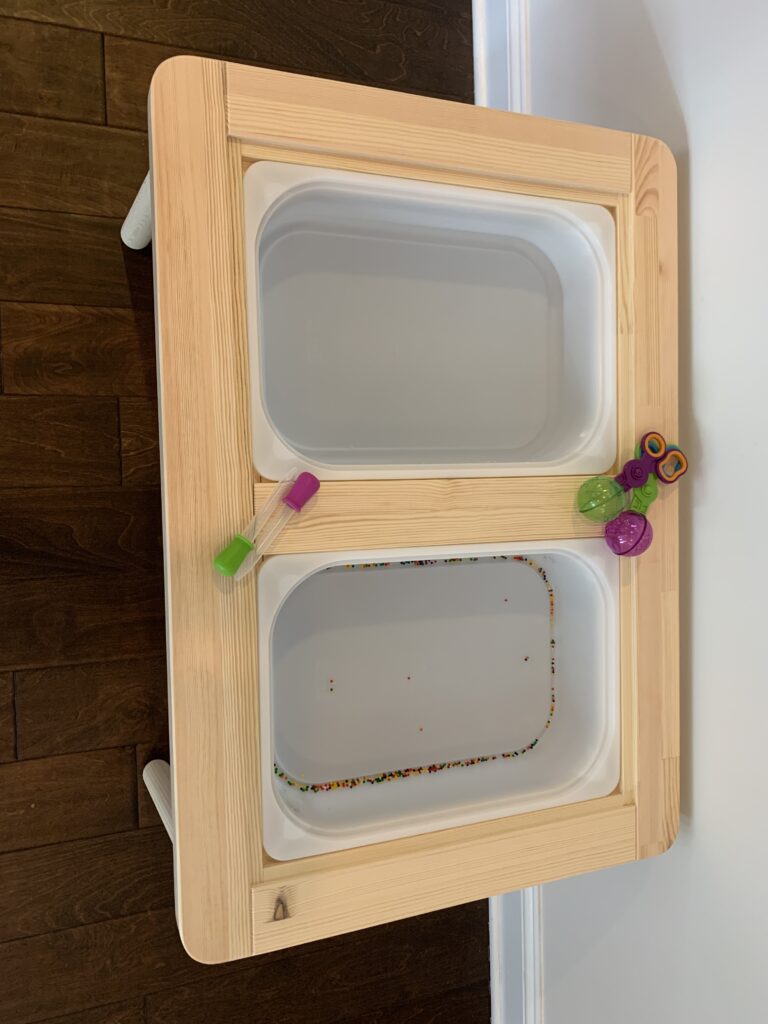
We had been using the Ikea Sensory Table for years and truly loved it. So when switching to a new table, I needed to decide what it was about the table I loved so that I could replicate it. A couple of things initially came to mind in how we used our table. First, the removable bins! This has been a life saver in being able to do sensory activities and clean up afterwards. Second, we actually loved the ability to have a bin and craft desk side by side. We utilized the half and half aspect of the desk multiple times for various reasons. Lastly, it was small and movable. This was something that I likely cannot replicate if we plan to make it bigger but is also the reason we will be keeping our Ikea Sensory Table!
Wish List for Our DIY Sensory Table
In making a new table, my children also had some specific requests. The reasons we were making a new one was with four kiddos and my children getting older, we were outgrowing our table. We actually talked about multiple ways to fix this alone. We had talked about just adding taller legs to our Ikea table. Another idea was to just buy a second Ikea table, leave one normal height and make the other one taller. Our fear though was missing out on the interactive play. We love watching them collaborate and play together. So, we decided it was time to explore other tables. Nothing fit the bill, nothing was quite like our Ikea Sensory Table. So next came the plans to make something ourselves.
How to Make a DIY Sensory Table
I started out initially researching bins actually. I came across multiple different options that are intended for sensory play and some that were not. Truly, I wanted something that would fit our space personally. We looked at the Tuff Tray, even the round trays, we looked at the Sand and Water Table, we looked at garden bins, and we looked at under the bed storage.
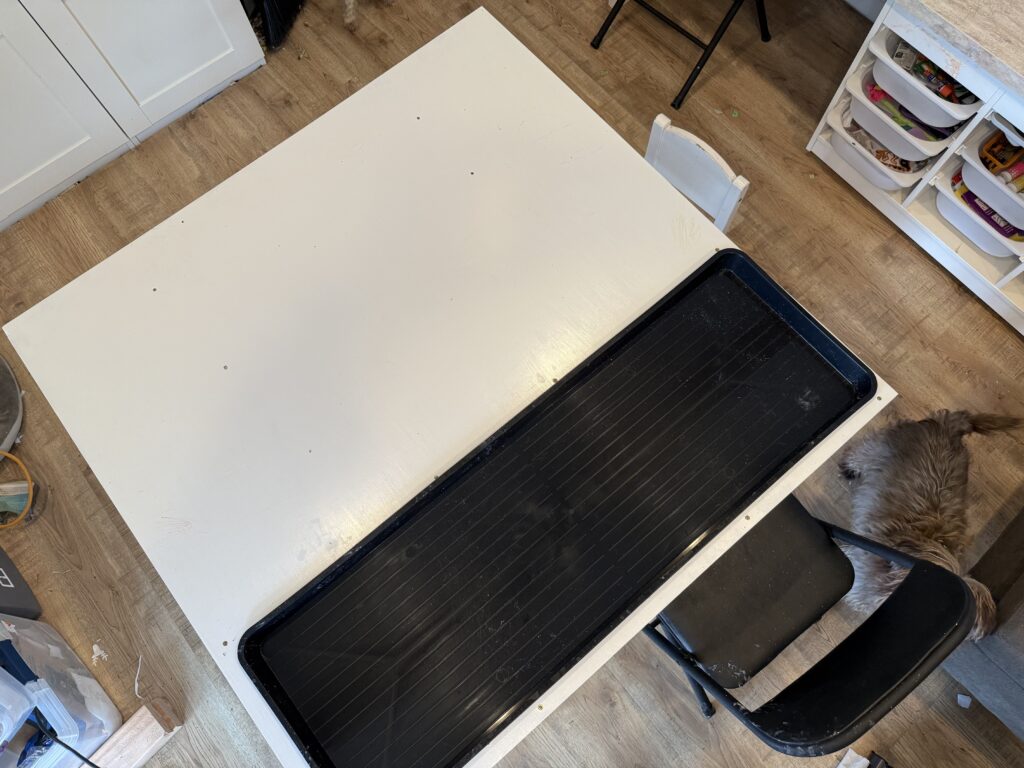
After looking through, we landed on a large garden bed bin. We decided it would allow for the most space around to play, it was not overly deep, and it would be removable!
So we got to work planning out our table. I built a frame from some 2×4’s and 1×2’s and then we used a Trofast storage for loose parts on the far side. Once everything was built, we placed a large piece of plywood on top to create a table top.
Let the Sensory Play Begin
This was a relatively quick and easy project to build honestly. My kids now have a larger sensory place to play and even a full crafting area. They are thrilled and run to this room as soon as they can. So many sensory activities to be had! I will let you know how we love it and let me know if you want more detailed plans and measurements!
Our favorite sensory activity: shaving cream!!

[…] play, it can help their development from infancy throughout school age. This is why we built a bigger sensory table recently, so that my big kids can still enjoy sensory […]