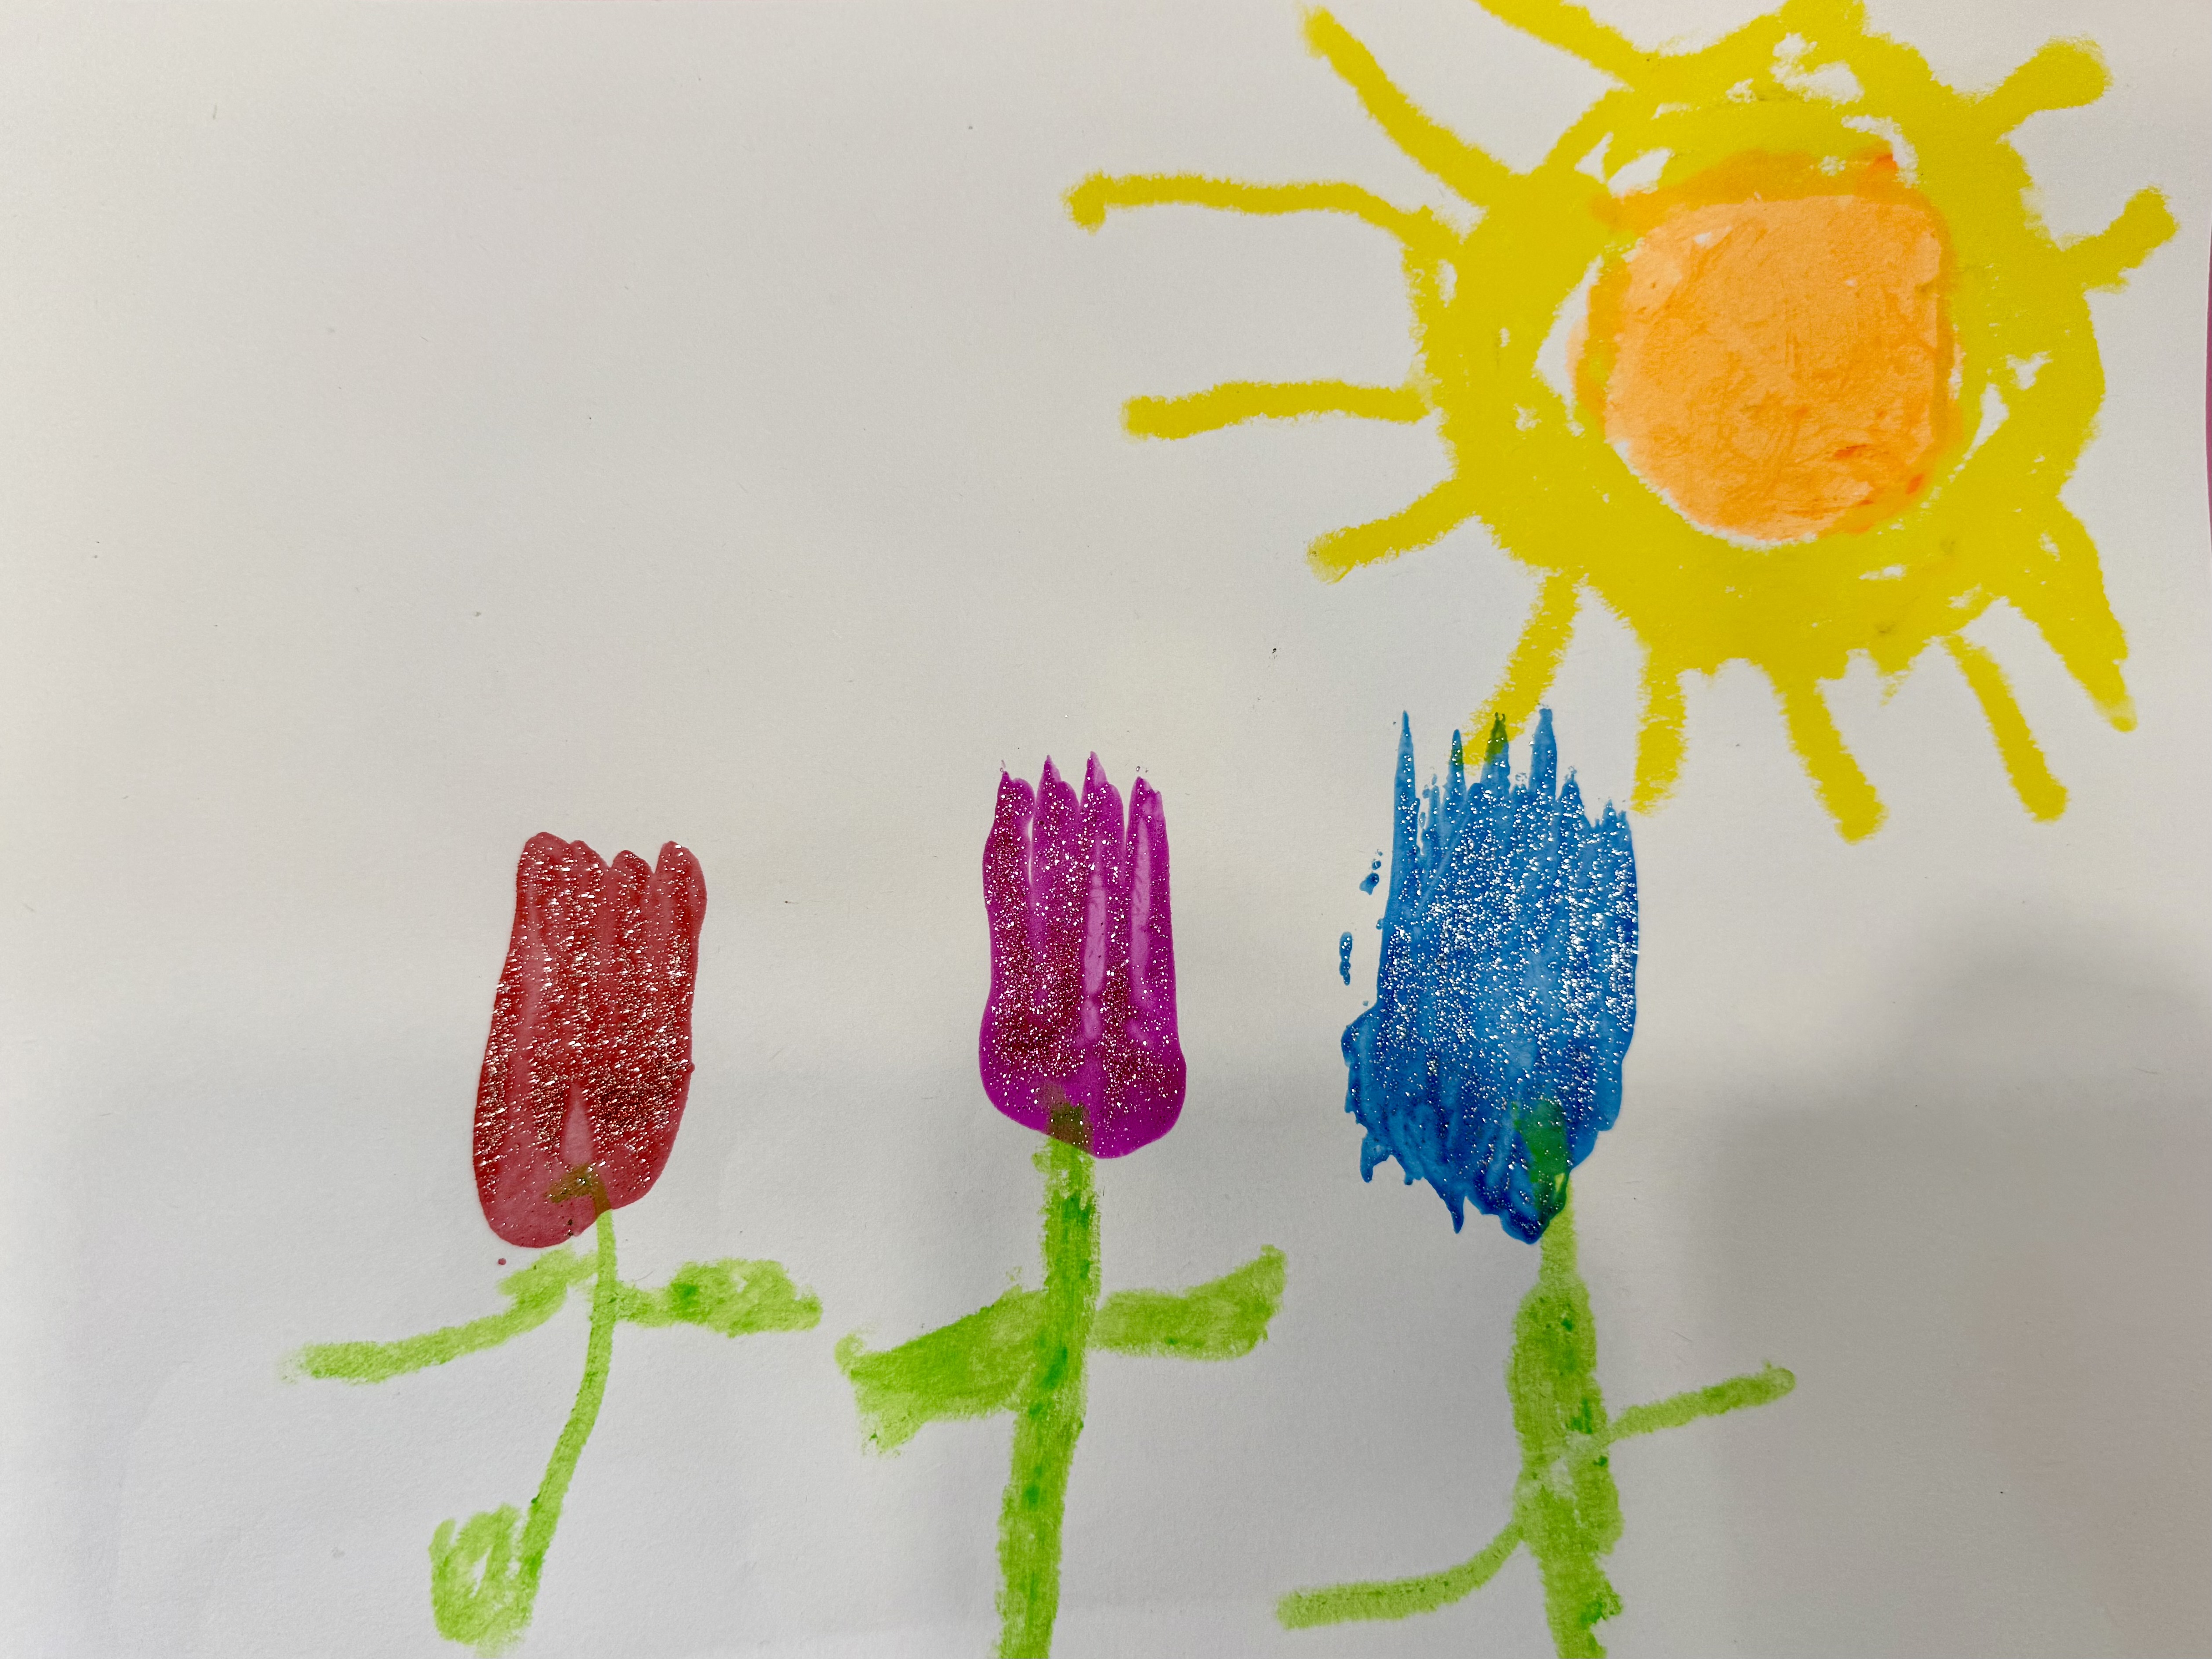
There’s something about spring that brings out the colors, the creativity, and the messy fun in all of us—and this easy fork tulip art activity is a perfect way to celebrate the season! Using just a fork and some paint, your kids can create beautiful blooming tulips that are perfect for decorating the fridge or making homemade cards.
This is one of our favorite process art projects—no pressure for perfection, just a chance for little artists to explore textures, patterns, and creativity in a fun, screen-free way.
April Showers Bring May Flowers
After weeks of soggy spring days and indoor play, the phrase “April showers bring May flowers” feels more hopeful than ever! This craft gives kids a chance to create their own spring garden—rain or shine—using an unexpected but super fun tool: a fork!
Whether your child creates a blooming tulip bouquet, a garden bursting with color, or just a single proud flower on a page, they’ll love the process and the result.
Supplies
- Plastic forks
- Washable tempera paint (or acrylic paint)
- Card stock or construction paper
- Paint markers
- Paintbrush
- Paint shirt or apron
- Markers, stickers, glitter, glue, crayons (optional for decorating)
How To Make Fork Tulip Art:
- Pour paint onto a tray or paper plate.
- Choose your tulip colors – pink, orange, red, purple, yellow, etc.
- Dip the back of a fork into the paint.
- Make sure the back of the fork is evenly coated. A plastic fork will work and can add some texture.
- Stamp the fork onto the paper.
- Press the back of the fork down and lift up to reveal a tulip shape! Repeat as many times as you’d like to create a garden, bouquet, or a single statement flower!
- Add stems and leaves.
- We used paint markers to create the rest of the flower (you can paint or even finger paint too).
- Decorate as desired!
- Let the creativity bloom! Let them add blue skies, rain clouds, sunshine, flower pots, butterflies, bugs, and write a message if they want.
Why This Is a Great Process Art Activity
Process art focuses on the experience of making rather than the final result. That means it’s okay if every tulip looks a little different—actually, it’s encouraged! Here’s what kids learn as they play:
- Creativity and self-expression through color and design choices
- Fine motor skills as they grip and stamp with the fork
- Problem-solving as they figure out spacing, layering, and composition
- Confidence in making something that’s completely their own
If you’re new to process art, it’s a simple but powerful shift: instead of aiming for a perfect craft, you’re encouraging creativity, exploration, and fun. That’s where the real magic happens!
Ideas to Extend the Activity
- Create a whole garden mural: Tape sheets of paper together and let your kids fill it with flowers.
- Make a Mother’s Day card: Fold a piece of cardstock and stamp a tulip bouquet on the front.
- Try a rainy day version: Add fingerprint raindrops and umbrellas to tie into the April showers theme.
- Use other tools too: Try stamping with other items—spoons, bottle caps, or even broccoli!
Let Spring Creativity Bloom
This fork-stamped tulip project is a perfect way to celebrate the season and sneak in some creative learning. Best of all, it’s quick to set up, fun for all ages, and easy to clean up. So grab a fork and let your little ones make their own May flowers—no sunshine required.
Have you tried making fork flowers before? I’d love to hear how your garden grows—share your creations in the comments or tag us on Instagram @brewingcrafts!
Also, love process art? Check out more of our process art here: sun prints and squeegee art.
