Looking for a low-mess, screen-free way to create beautiful watercolor art with your kids? This simple process art activity uses just foil, water, and washable markers to create stunning designs—no fancy supplies or paints needed! It’s a creative, low-prep way to explore colors and patterns, and the results are always a fun surprise.
Whether you’re making a handmade card for Mother’s Day or just want to brighten a rainy afternoon, this activity is as magical as it is mess-free.
What Is Foil & Water Watercolor Art?
This project is all about creating watercolor-style prints using everyday materials you already have at home:
- Draw a design on foil with washable markers
- Lightly mist with water
- Press a piece of paper on top to transfer the color
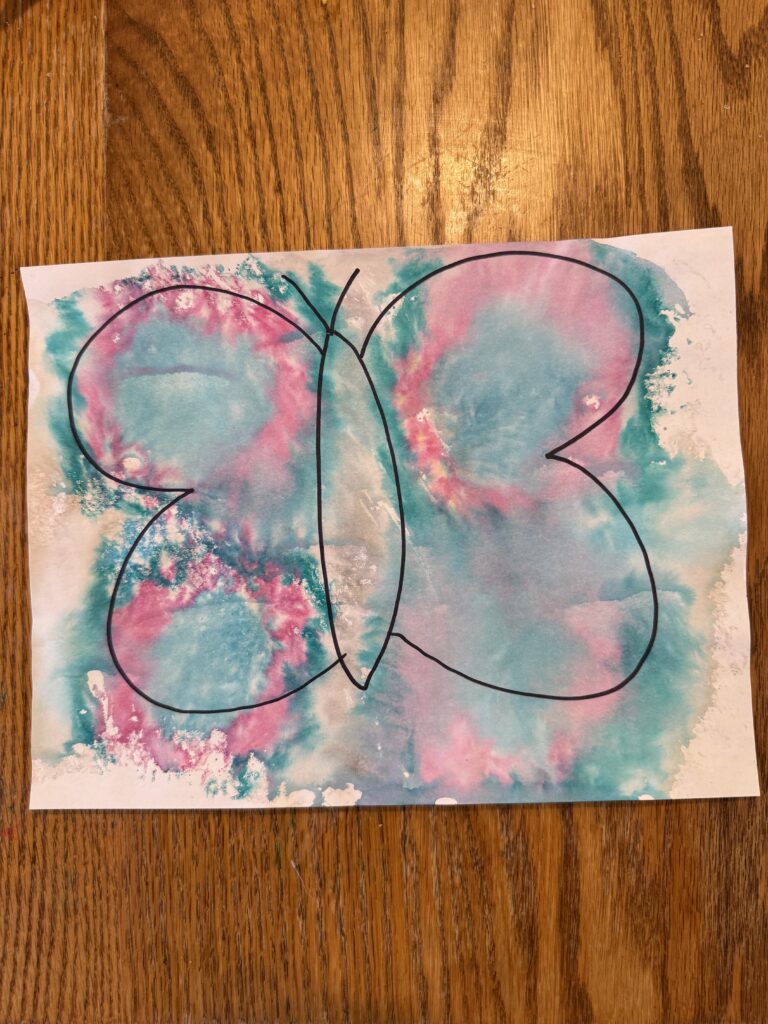
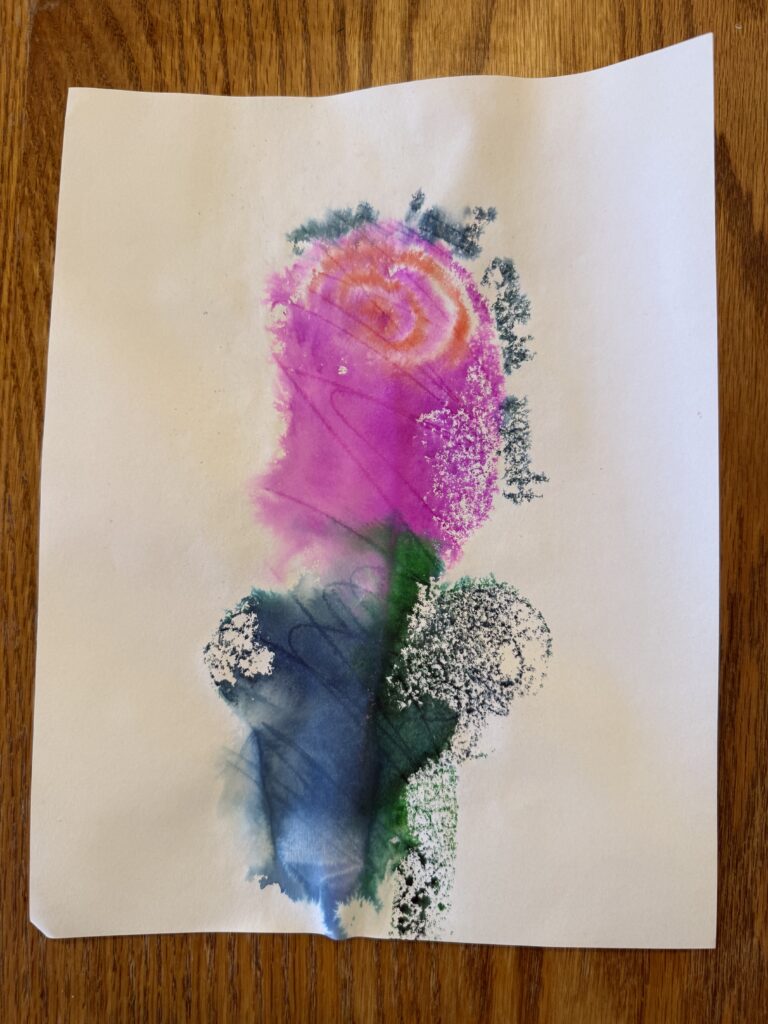
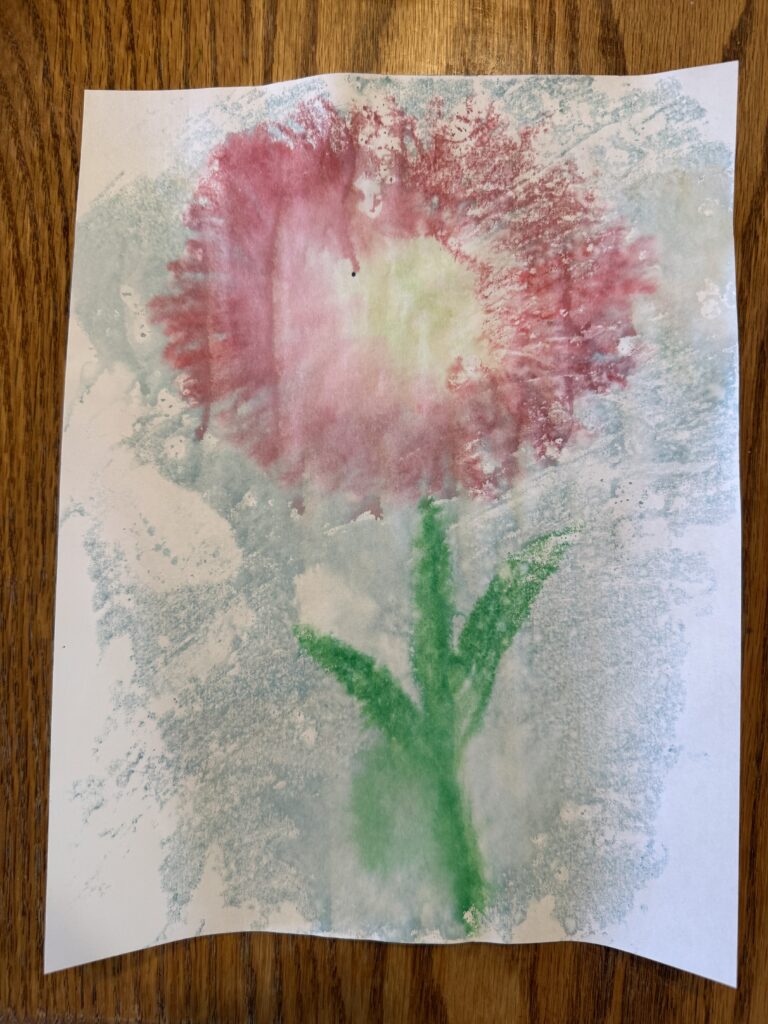
Each piece turns out beautifully unique with flowing colors and soft edges—just like real watercolor!
Supplies
- Aluminum foil (a sheet slightly larger than your paper)
- Washable markers (Crayola or similar brands work great)
- White cardstock or watercolor paper
- Spray bottle or mister with water
- Paper towels or an apron to protect surfaces
- Optional: Sharpie, crayons, stickers for extra details
How to Create Foil Watercolor Art
- Lay out your foil.
- Smooth a sheet of foil onto your work surface—shiny side up.
- Draw your design with markers.
- Let kids scribble, draw swirls, shapes, or fill sections with color. Encourage them to use lots of bright, bold marker strokes. This is part of the process art fun!
- Mist lightly with water.
- Lightly spray the marker-covered foil with water. A fine mist works best—you want the colors to blend a bit but not get washed away.
- Press the paper onto the foil.
- Place your cardstock or paper onto the wet foil, press down gently, and smooth it out with your hands.
- Lift the paper to reveal your masterpiece!
- Carefully peel the paper up from the foil and admire the watercolor effect.
- Let it dry.
- Once dry, you can leave the art as is or add drawings, writing, or decorations on top.
Ideas for Using Your Artwork
Mother’s Day Cards:
Fold the dried paper in half and write a heartfelt note inside. Add “Happy Mother’s Day” with a Sharpie on the front or decorate with flower drawings.
Creative Backgrounds:
Use the watercolor design as a background for other artwork—cut out paper shapes, drawings, or stickers and glue them on top.
Layered Art:
Let kids draw a picture over the watercolor once it’s dry—like rainbows, hearts, flowers, animals, or abstract doodles.
Frame It!
Some of these turn out so pretty, they’re worthy of a frame or a spot on the fridge art gallery!
Why This Is a Great Process Art Activity
This foil watercolor technique is a perfect process art activity—meaning the focus is on how kids create, not what the final result looks like.
Benefits of this activity include:
- Creative freedom—no “right” or “wrong” way to do it
- Color blending exploration—kids see how colors mix and spread
- Sensory fun—mist, press, peel, and reveal!
- Low prep & clean-up—great for parents!
It’s ideal for toddlers learning color basics, preschoolers practicing fine motor skills, and older kids experimenting with design.
Perfect for Gifting or Just for Fun
Whether you’re making art to turn into a card, decorate your home, or just enjoy some peaceful creativity together, this activity is a winner. With just markers, foil, and water, you can create truly beautiful designs—and spark your child’s imagination in the process.
Try It and Share Your Masterpieces
Have you tried this watercolor foil technique? Did your kids turn theirs into a garden, a rainbow, or a surprise for Grandma? I’d love to see what you create—share your art in the comments or tag us on Instagram @brewingcrafts!
More process art: fork tulips and symmetry art.
