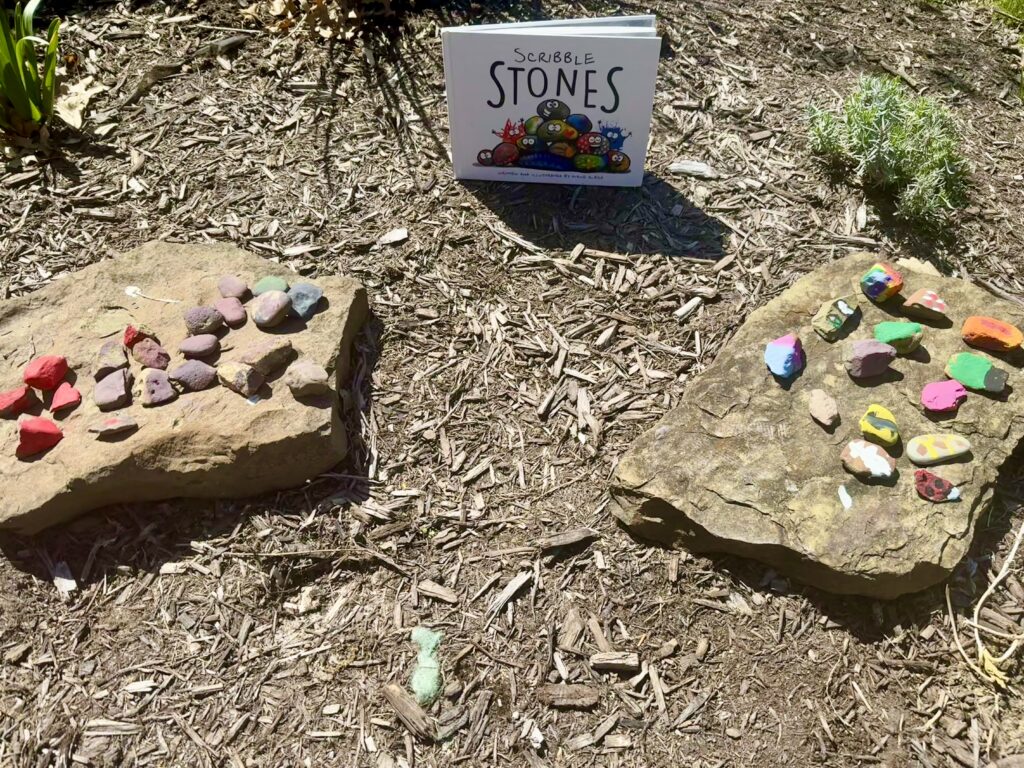
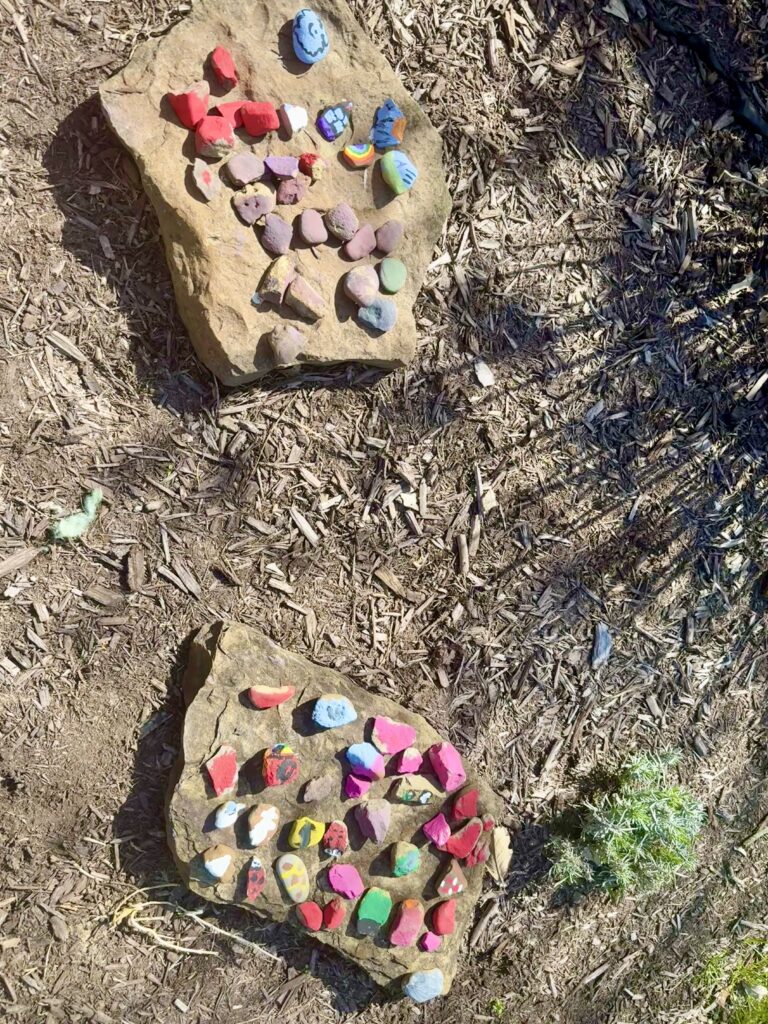
There’s something magical about turning something ordinary into something extraordinary—especially when your kids are the artists behind the transformation. After reading Scribble Stones by Diane Alber, my kids couldn’t wait to make their own painted rock creations. And just like in the story, a simple stone became something joyful, colorful, and full of personality.
As I had previously mentioned in our post for National Reading Month, we don’t go a day without a book of some kind. We absolutely love to read around here and sometimes our activities are inspired by the books we read. I am so glad today’s activity was inspired by our book because this was a fun activity. This is one of those wonderfully low-prep activities that taps into big creativity. It combines storytelling, outdoor play, and art—and the best part? Your kids’ imaginations will do most of the work.
Inspired by the Book: Scribble Stones by Diane Alber
If you haven’t read Scribble Stones, it’s a heartwarming story about a little stone who dreams of being more than just a paperweight. With a little paint and a lot of imagination, he becomes part of something bigger—a movement of joy and creativity that spreads to everyone around him.
The message is simple but powerful: creativity is contagious. And that’s exactly what happened when we started our own scribble stone adventure.
How to Make Scribble Stones
Supplies
- Clean stones or rocks (any size)
- Acrylic paint
- Paintbrushes
- Paint markers (optional)
- Clear sealer (optional)
- Paper towels
- Water cups (this one comes with some washable paint for another project)
- Paint shirt/apron
Let the Scribbling Begin!
1. Gather your stones:
Head outside and go on a rock hunt. Look for stones with smooth, flat surfaces—perfect canvases for little hands.
2. Clean and dry your rocks:
A quick rinse helps paint stick better. Let them dry completely before painting.
3. Paint your designs:
There’s no wrong way to do this! Your kids can cover their rocks in:
- Scribbles and swirls (just like in the book)
- Cute creatures (think ladybugs, bumblebees, turtles)
- Silly faces
- Hearts and rainbows
- Letters, names, or kind messages (“You Rock!”)
4. Add details:
Once the paint dries, you can layer on eyes, wings, words, or designs using paint markers or a small brush.
5. Seal (optional):
If you’re placing your stones outside (like in a garden or at a park), a quick spray of clear sealer will help protect them from the elements.
Ideas for What to Do with Your Scribble Stones
- Create a rock garden: My kids made a whole crew of ladybugs to “live” in our flower beds!
- Make a kindness rock trail: Leave stones with uplifting messages around your neighborhood for others to find.
- Give them as gifts: A hand-painted stone with a smiley face or a heart makes a sweet, simple gift for grandparents, friends, or teachers.
- Make story stones: Paint simple pictures (sun, tree, fish, etc.) and use them to spark storytelling with your kids.
- Play rock tic-tac-toe: Paint Xs and Os on stones and draw a grid outside with chalk.
Finding Inspiration Everywhere
One of my favorite parts of this project was watching how my kids found inspiration all around them—in the book, in our backyard, and in their own imaginations.
Encourage your kids to:
- Flip through a picture book or favorite story
- Look at flowers, bugs, or animals outside
- Think about their favorite colors or shapes
- Use their mood – “what does a happy look like as a rock?”
You don’t need fancy materials or a Pinterest-perfect plan. Just a rock, some paint, and a spark of curiosity.
Why This Activity Is Awesome
- • It supports creativity and decision-making. Kids choose colors, designs, and meaning behind each creation.
- It’s screen-free and flexible. Do it indoors or outside, with one kid or a whole group.
- It teaches kindness and giving. Painted rocks are easy to share and bring joy to others.
- It encourages outdoor play. Start with a rock hunt and end with decorating the garden—it’s all part of the fun.
Scribble Stones reminded us that small things can spark big smiles—and sometimes, all you need is a rock and a little paint to make something special.
Have you tried making painted rocks with your kids? What did they create? Share your ideas in the comments—I’d love to see what your little artists dream up!
